Table of Content
Keystone image is created when the projector beam is projected to the screen in an angle. Keystone correction will restore the distorted image to a rectangular or square shape. Mains adapter is used as disconnect device and it should remain readily operable during intended use.
TO OBTAIN REPAIRS UNDER THE TERMS OF THIS WARRANTY 1. The original purchaser must present a copy of the original bill of sale and the service warranty card. Turn off the unit before install USB / TF card. Press to muting the audio sound of your projector. Press again to resume.
RCA Home Theater System Manuals
Damaged, liquid has been spilled or objects have fallen into the apparatus, the apparatus has been exposed to rain or moisture, does not operate normally, or has been dropped. Mans.io needs to review the security of your connection before proceeding. Any alterations, abuse, misuse, battery corrosion or accidental damage voids the warranty. C.I. Service Dept. warrants this product to be free from defects in materials and workmanship for 90 days on parts and 90 days on labor. If you originally purchased your product more than 90 days ago, a repair fee may apply.
Objects filled with liquids, such as vases, shall not be placed on the apparatus. Do not look directly into the projector light. 13.
LOOKING FOR SUPPORT FOR YOUR PRODUCT?
Finally, replace the cover. Connect the equipment into an outlet on a circuit different from that to which the receiver is connected. 10.
Use only with a cart, stand, tripod, bracket, or table specified by the manufacturer or sold with the apparatus. When a cart is used, use caution when moving the cart/ apparatus combination to avoid injury from tip-over. 11. Unplug this apparatus during lightning storms or when unused for long periods of time.
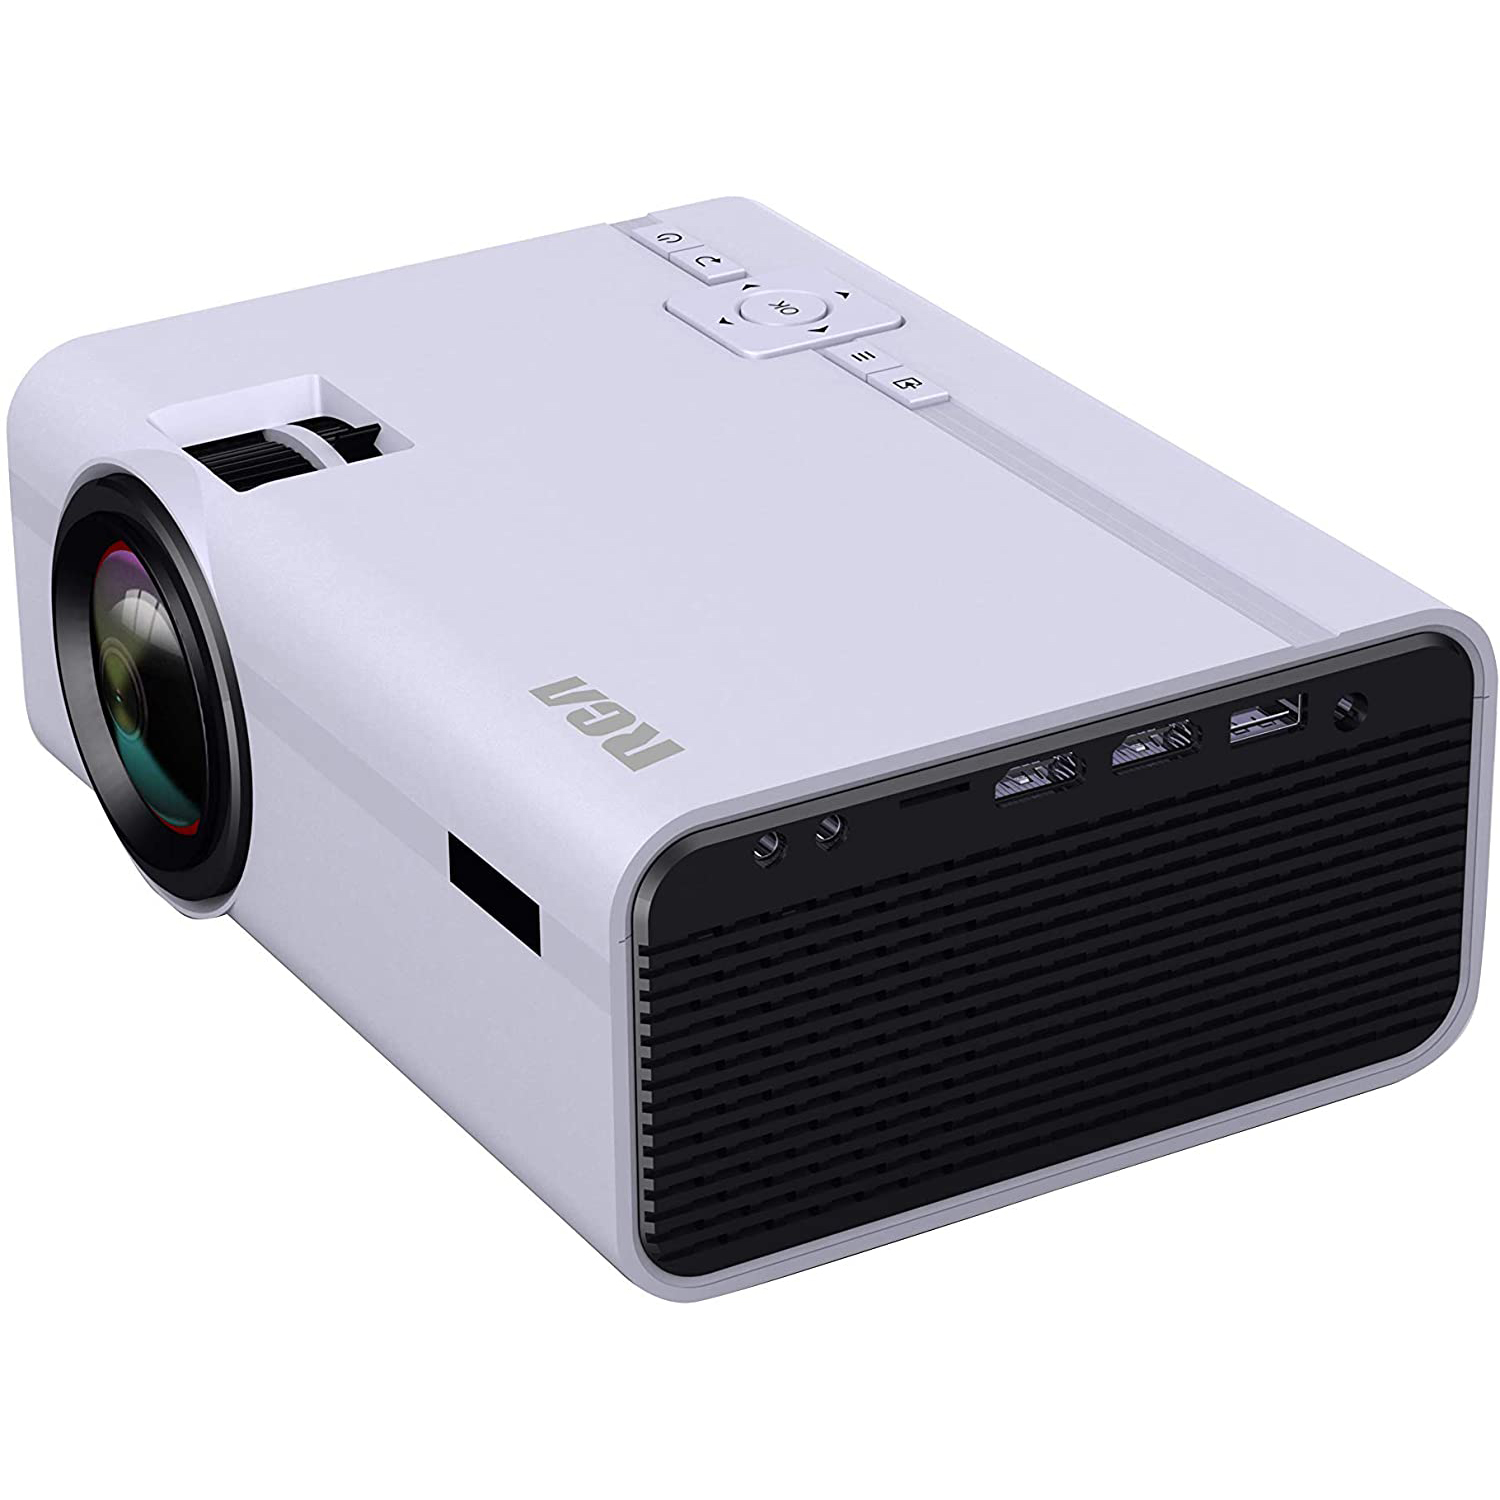
RCA BLUETOOTH HOME THEATER PROJECTOR, BUNDLED WITH FOLD UP SCREEN
Select this location with the projector suspended upside-down from the ceiling in front of the screen. So, you can draw your room out, place the projector in the room, and draw the lines to the screen. If you are sitting under the projector, you will NEVER have an issue if you just sit down. If you are a few feet in front of the projector, then when seated you still shouldn’t have an issue.

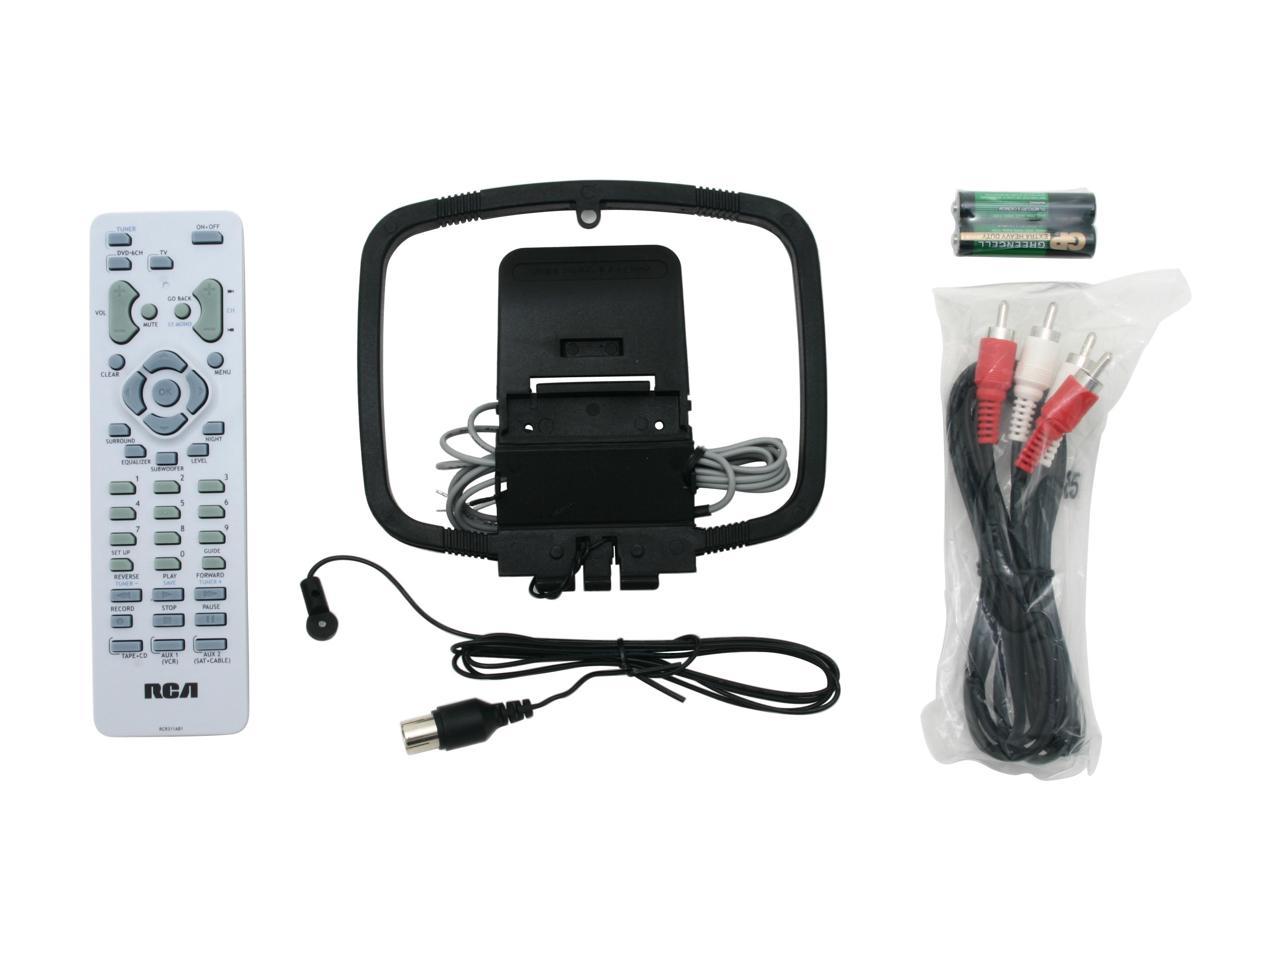
After selection, use buttons to search the MUSIC PHOTO / MOVIE icon and press the button to enter. If necessary, use the button to select TF card or USB and press the press the button to enter. After connect, press the button to turn on unit and power indicator will light GREEN. Follow below picture to connect AV cable and device. Turn off the unit before connect AV cable. Follow below picture to connect HDMI cable and device.
Press the SOURCE button to HDMI mode and the video of HDMI device will show on projector screen. / SOURCE – Press the button to select input source. Follow below picture to adjust the focus and trapezoidal screen.

Before installing the projector in the ceiling, please check to make sure the ceiling structure can support the weight of the projector and the mount. If in doubt, please ask the advice from an installation professorial. Blue light is a light wavelength not only found in natural sunlight. It’s also found in anything emitting light such as fire, TVs, computer screens, light bulbs, LEDs, and projectors.
Adjust the focus by turning the knob while observing the image pixels near the center of the screen. Optimal focus is obtained when the pixels are clearly visible. Depending on the projected screen size, the focus near the screen edges may be less sharp than the screen center.
Technology even more so. Press the SOURCE button to AV mode and the video of AV device will show on projector screen. Save as herein provided, C.I. Service Dept. or C.I. Service Dept. , there are no other warranties, conditions, representations or guarantees, express or implied, made or intended by C.I. From any claim for damages to persons or property caused by the unit.
Press the button to turn off power of your projector before connection. / EXIT – Press the button to exit the projector menu. Select this location with the projector suspended upside-down from the ceiling behind the screen.

Connect a Coaxial Digital Cable, Optical Digital Cable, or Audio cable to the Audio Output jack on your TV. Connect the other end of the cable to the corresponding jacks on the A/V receiver or home theater system. Depending on your device, the audio input may be labeled TV INPUT or VIDEO INPUT. The better projectors also had far better contrast ratios, and therefore better image quality, than most TVs of thVe time. Short-throw projectors can help fit a projector into just about any room but they can still look washed out in brighter lighting. Life moves pretty fast.
Plug the adapter body to power outlet.– Press the button to turn on unit, press again to turn off. Press button to enter projector menu. Press again to previous status. / MENU – Press the button to enter projector menu. Press the buttons to select screen item of projector menu.
In order to disconnect the apparatus from the mains completely, the mains plug should be disconnected from the mains socket outlet completely. When we buy new device such as RCA Home Theater Audio System we often through away most of the documentation but the warranty. Very often issues with RCA Home Theater Audio System begin only after the warranty period ends and you may want to find how to repair it or just do some service work.


No comments:
Post a Comment